
The Quiet Magic of Amish Sourdough: A Return to Patience
In a culinary world currently obsessed with “ear” height, open crumbs, and hydration percentages that require a degree in chemistry to manage, the Amish approach to sourdough is a breath of fresh air. It is a reminder that bread, at its core, is meant to feed a family, not just an Instagram feed.
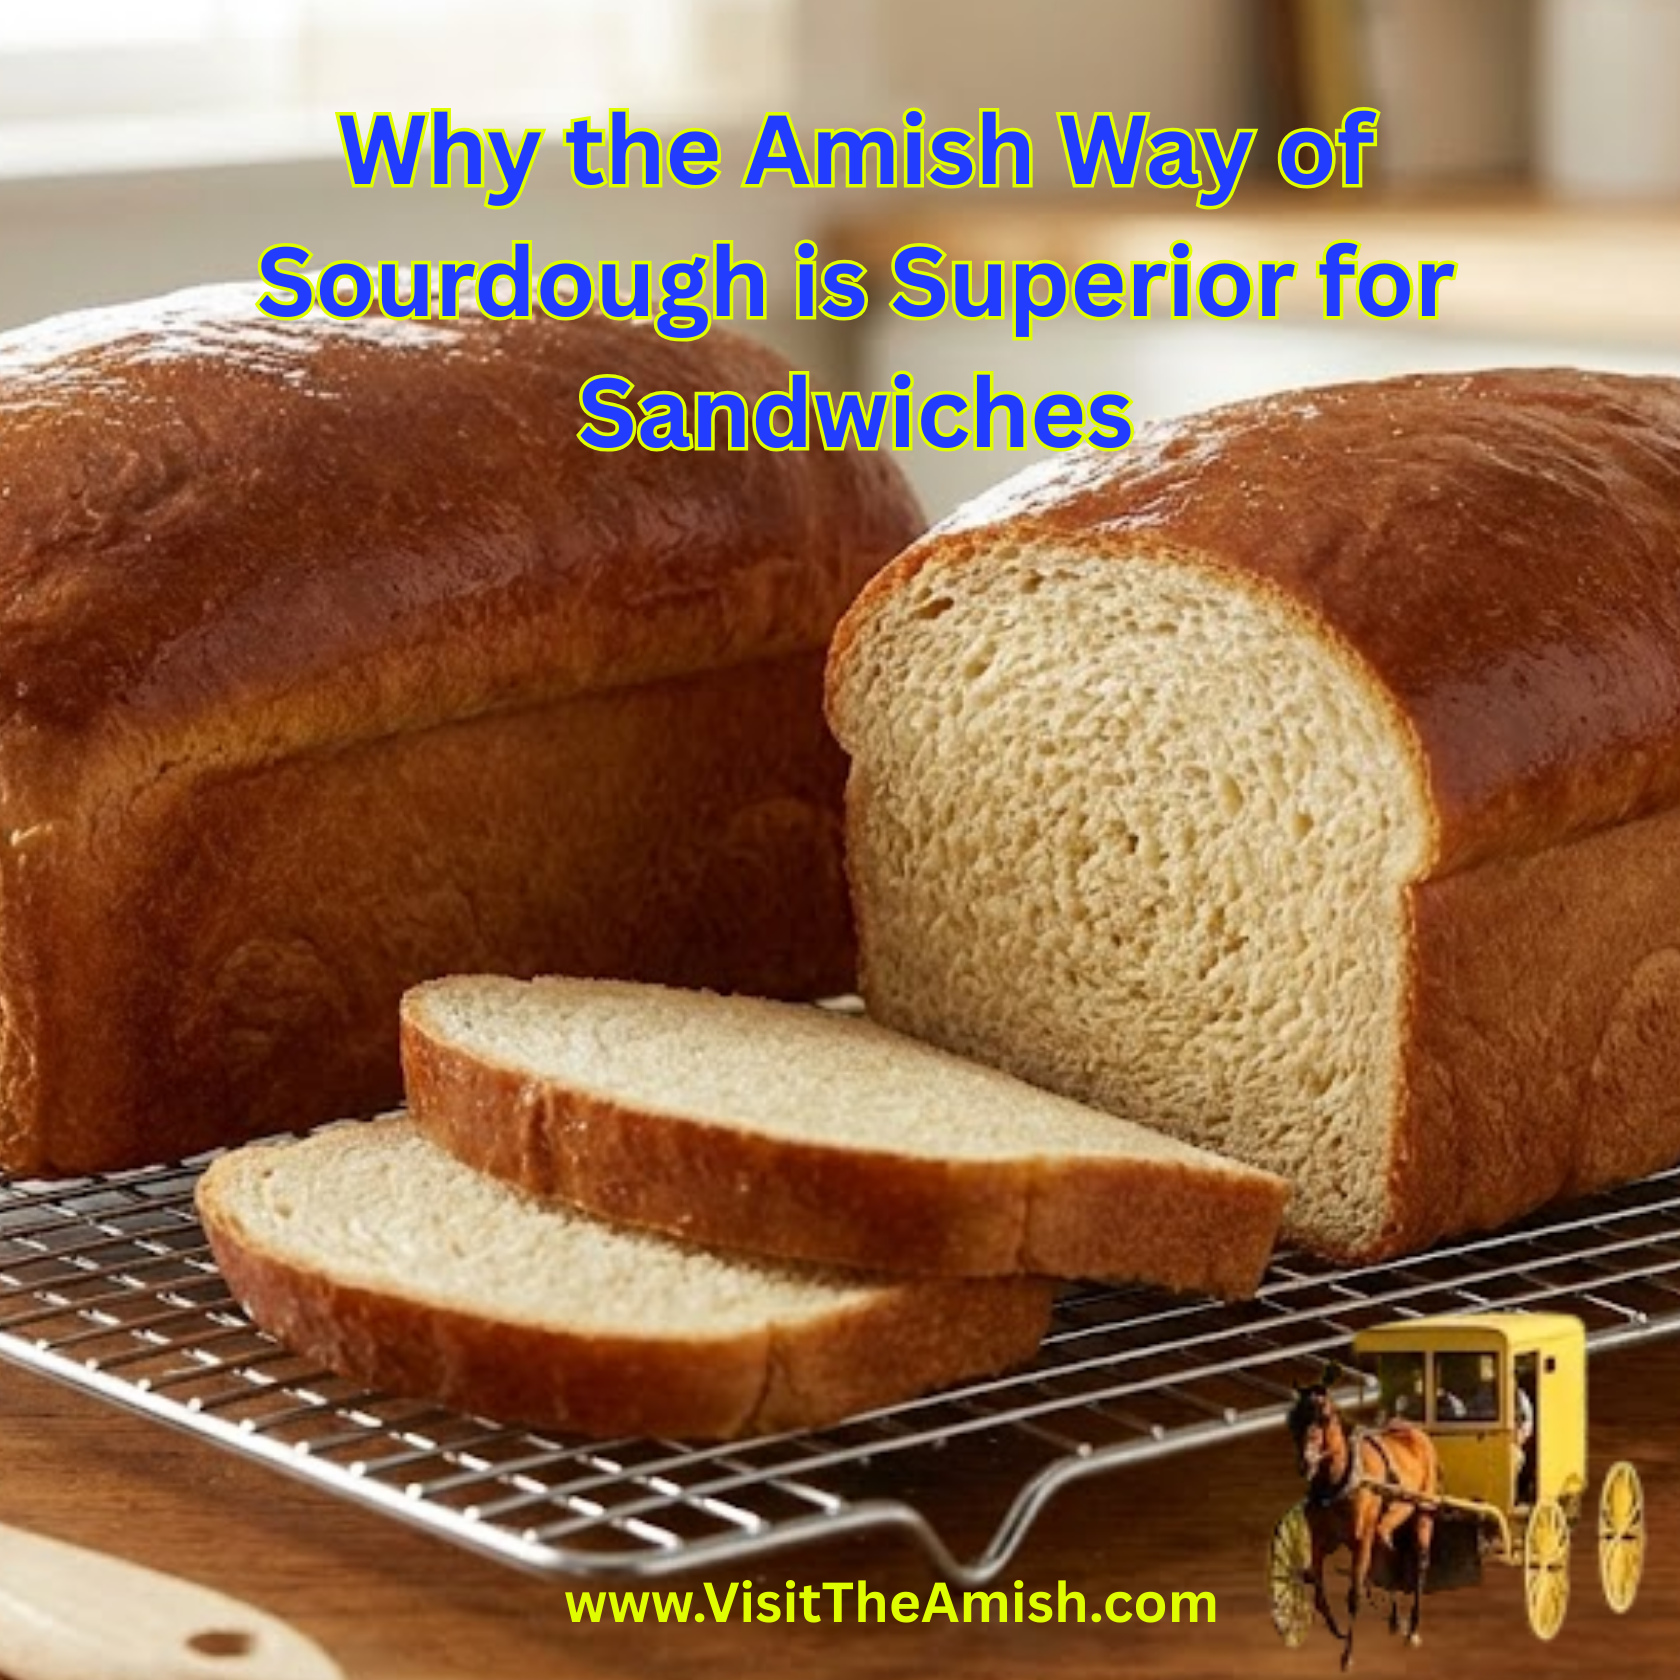
Authentic Amish sourdough is distinct from the crusty, tangy, hole-filled loaves popularized by San Francisco bakeries. If you have ever bought a loaf from a roadside stand in Lancaster County or Holmes County, you know the difference. Amish sourdough is softer. It has a tighter crumb, making it perfect for holding mayonnaise and roast beef without dripping through. It is slightly sweeter, enriched with oil and sugar, and it lacks the aggressive acidic “bite” of coastal sourdoughs.
It is comfort food in its purest form—a loaf born from a “feed” rather than a laboratory experiment.
The “Sweet” Starter Difference
The secret lies in the starter. While artisanal sourdough starters are typically just flour and water, Amish starters (often related to the famous “Amish Friendship Bread” cake starters) are frequently fed with milk, sugar, and flour. Even when using a water-based starter for bread, the dough itself is almost always enriched.
The addition of sugar feeds the wild yeast aggressively, creating a vigorous rise and a distinctively airy texture. The addition of oil (or sometimes melted butter) softens the gluten strands, resulting in a crust that is golden and tender rather than hard and shattering. This is bread meant to be sliced thick, toasted, and slathered with apple butter.
The Rhythm of the Loaf
Making Amish sourdough is less about technique and more about rhythm. It fits into the schedule of a busy farmhouse. The sponge is often set the night before, allowed to bubble and brew while the house sleeps. The kneading is done in the morning, a physical act that wakes up the dough. The final rise happens while chores are done.
It is a forgiving process. Because the dough is enriched and often slightly sweeter, it is less temperamental than lean doughs. It wants to rise. It wants to be bread.
Below is a recipe for a traditional Amish Sourdough loaf. This recipe assumes you have an active sourdough starter. If your starter is very sour, the sugar in this recipe will balance it beautifully. If your starter is fresh and mild, it will create a lovely, yeasty sweetness.
Recipe: Authentic Amish Farmhouse Sourdough
Yields: 2 large loaves
Prep time: 45 minutes
Rise time: 4–12 hours (depending on temperature and starter strength)
Bake time: 30–35 minutes
Ingredients:
The Sponge (Night Before/First Step):
- 1 cup active sourdough starter (fed and bubbly)
- 1 ½ cups warm water (approx. 110°F)
- 1 ½ cups bread flour (All-purpose works, but bread flour yields a better chew)
The Dough:
- ½ cup vegetable oil (corn oil or canola is traditional; melted butter works for a richer taste)
- ½ cup granulated sugar (or honey for a deeper flavor)
- 1 ½ teaspoons salt
- 3 to 4 cups bread flour (add gradually)
- Butter (for brushing the tops)
Instructions:
1. Create the Sponge:
In a large glass or ceramic bowl (avoid metal if possible), combine the active starter, warm water, and the first 1 ½ cups of flour. Stir vigorously with a wooden spoon until it looks like a thick pancake batter. Cover loosely with a clean tea towel or plastic wrap and let it sit in a warm place for 4 to 8 hours (or overnight). The mixture should become very bubbly and smell yeasty and slightly sweet.
2. Mix the Dough:
Once the sponge is active, stir in the oil, sugar, and salt. Mix well to incorporate.
3. The Flour Feed:
Begin adding the remaining flour, one cup at a time. Stir until the dough becomes too stiff to mix with a spoon. Turn the dough out onto a floured surface.
4. The Knead:
Knead the dough for 8–10 minutes. This is crucial. You want to develop the gluten structure. Add small amounts of flour as you knead to prevent sticking, but be careful not to make the dough too dry. The dough is ready when it is smooth, elastic, and “tacks” slightly to your finger without leaving residue.
5. The First Rise:
Grease a large bowl with oil. Place the dough inside, turning it once to coat the entire surface in oil (this prevents a skin from forming). Cover with a damp cloth and let it rise in a warm, draft-free spot until doubled in size. This can take anywhere from 2 to 4 hours depending on the warmth of your kitchen.
6. Shaping:
Punch the dough down gently to release air pockets. Divide the dough into two equal halves. Shape each half into a loaf by flattening it into a rectangle and rolling it up tightly, tucking the ends under. Place into two greased 9×5 inch loaf pans.
7. The Final Rise:
Cover the pans and let them rise again. You want the dough to crown about 1 inch above the rim of the pan. This usually takes 1 to 2 hours.
8. The Bake:
Preheat your oven to 350°F (175°C). Bake the loaves for 30–35 minutes. The tops should be a deep golden brown. If they are browning too quickly, tent them with aluminum foil for the last 10 minutes. The bread is done when it sounds hollow when tapped on the bottom (internal temp should be around 190°F).
9. The Finish:
Remove from the oven and immediately brush the top crusts with butter. This keeps the crust soft. Remove from pans and let cool completely on a wire rack before slicing.
